Prerequisite : Download this zip file containing the HTML file and images we are going to import in this example.
-
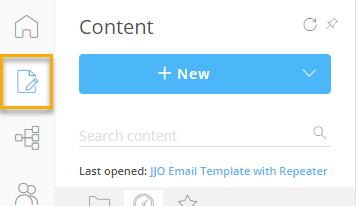
After logging in to Marigold Engage, go the Content chapter.
-
At the top-right of the window, click on the + New button or drop-down arrow and select Template :
option 1 — drop-down arrow :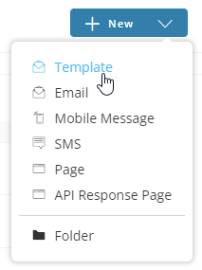 |
option 2 — button :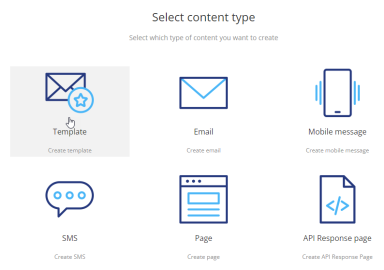 |
-
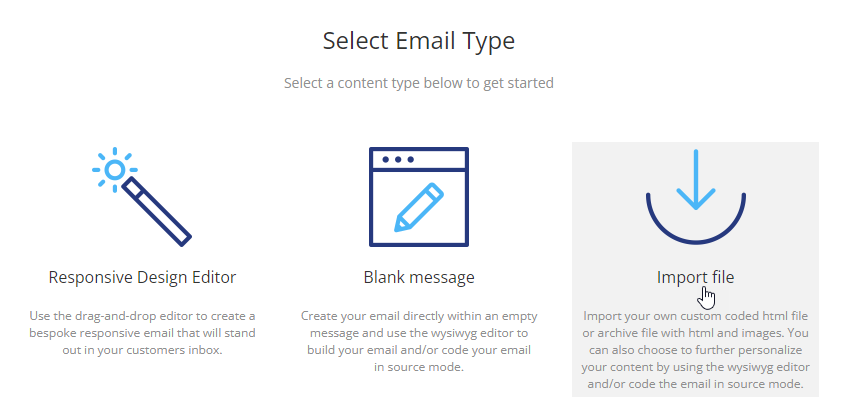
On the following screen, select Import file :
-
The 'Create a new template' screen is shown :
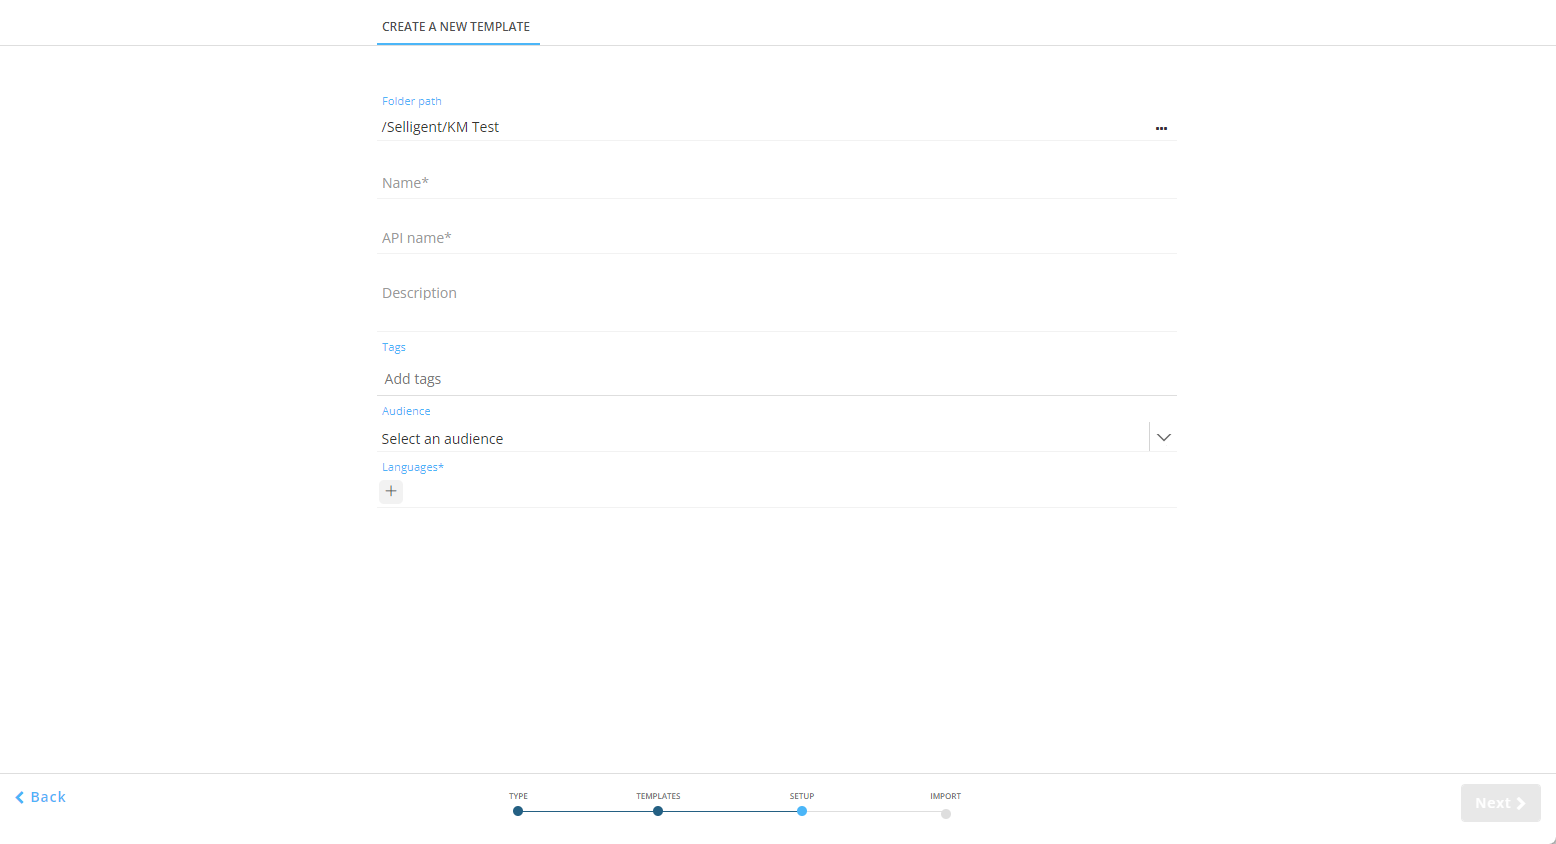
On this screen :
-
Enter a name for your template (let's say 'Spring sales template')
-
Select the appropriate audience (this is the list containing the contacts to target with the spring sales email)
-
Select one or more languages. We'll only select one in this case.
Note: When multiple languages are selected, the message content in the design needs to be setup for each language individually.
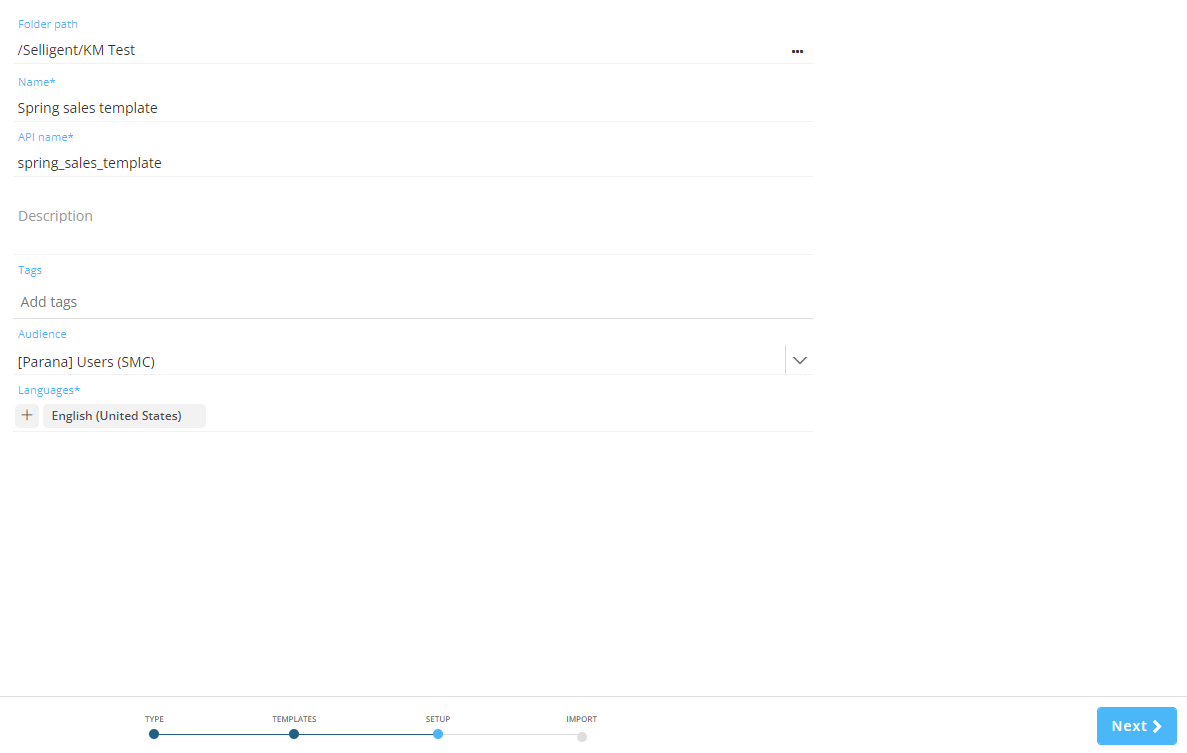
When you're done, click on the Next button at the bottom-right.
-
On the import step, you can select a local or online HTML or archive file to upload.

Let's select the following :
-
With the 'Local' tab being the active one, click on the 'Select file...' button.
Navigate to your local folder where the zip file that you've downloaded, is stored (mentioned in the prerequisite at the top of this page), and select it.

-
Make sure 'Upload images to repository' is enabled.
-
Change the target images folder to an appropriate folder in which the images will be stored and loaded from.
-
As 'image upload conflict resolution', let's select 'Replace existing images with the uploaded images'.
-
Make sure 'Reuse link for the same URL' is enabled.
-
As we only create the email template in a single language, there's no need to 'Convert text and images from the imported HTML to multilingual components'.
This is what your settings look like :
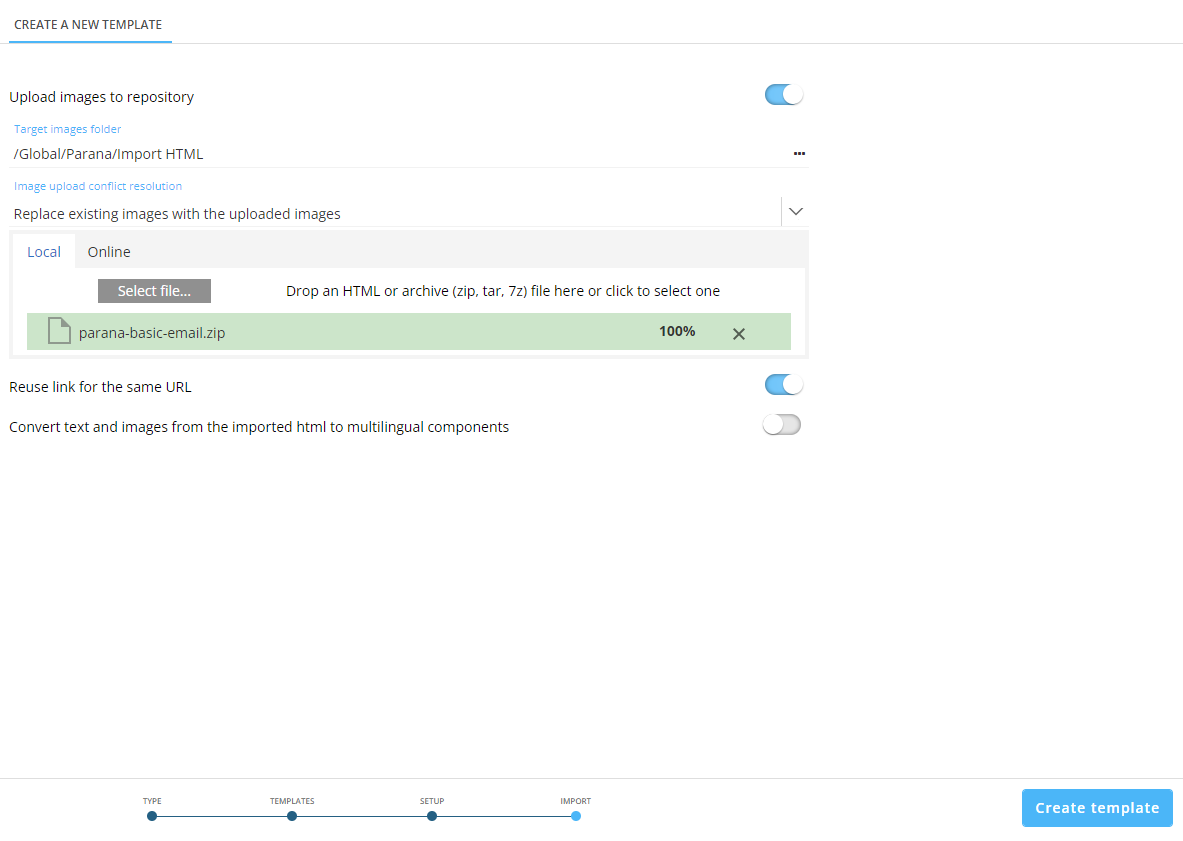
Click on the Create template button at the bottom-right.
-
The Spring Sales email template is created and is shown in the source view of the Wysiwyg editor :
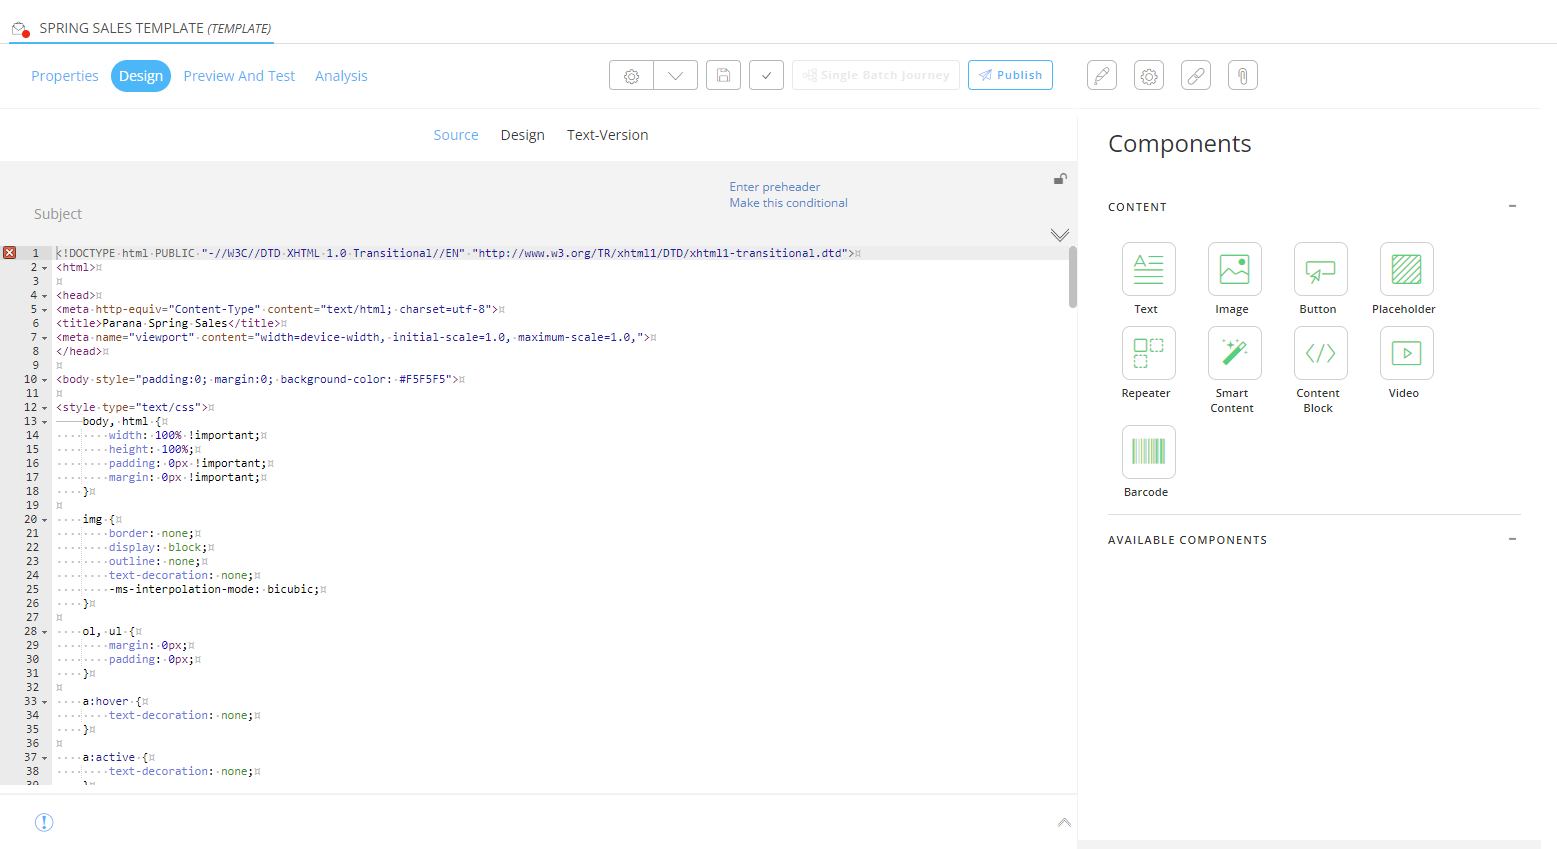
As next step, we'll show how to personalize the email template in both source and design view.
| STEPS : |
|---|
| 1. Import file |
| 2. Personalize Content |
| 3. Add email header |
| 4. Extract text version |
| 5. Test/Preview the email template |
| 6. Create a basic journey to send out the email template to contacts |
